and on a final note, i'd like to thank Slave to Painting for the honourable mention in thier recent competition. i was really surprised and it was a real morale booster, inspiring me to continue painting and improving my skills. the $50 voucher will be spent readily as soon as you restock on some supplies too :).
right onto the main reason of this post then...
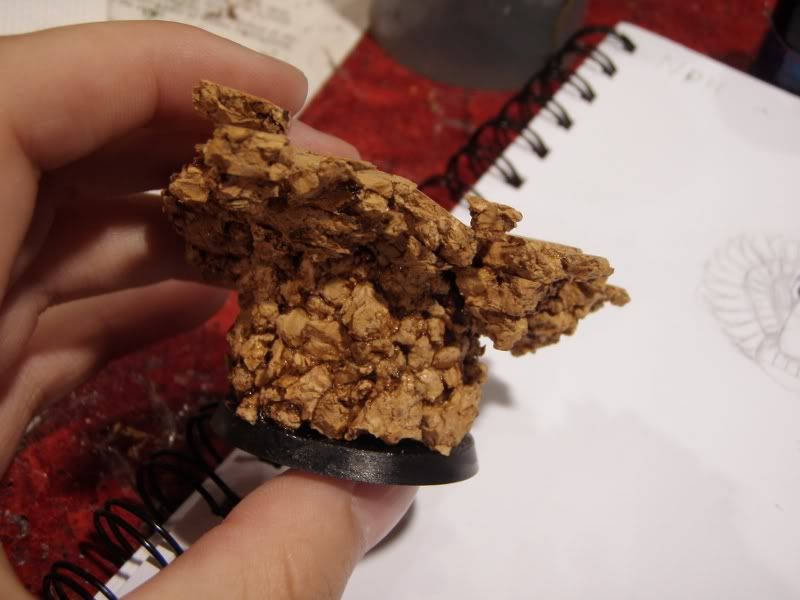
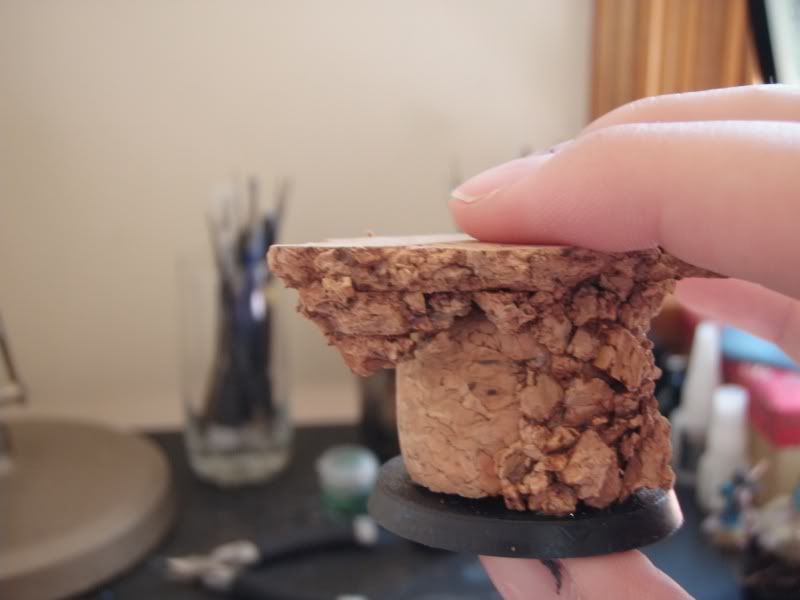
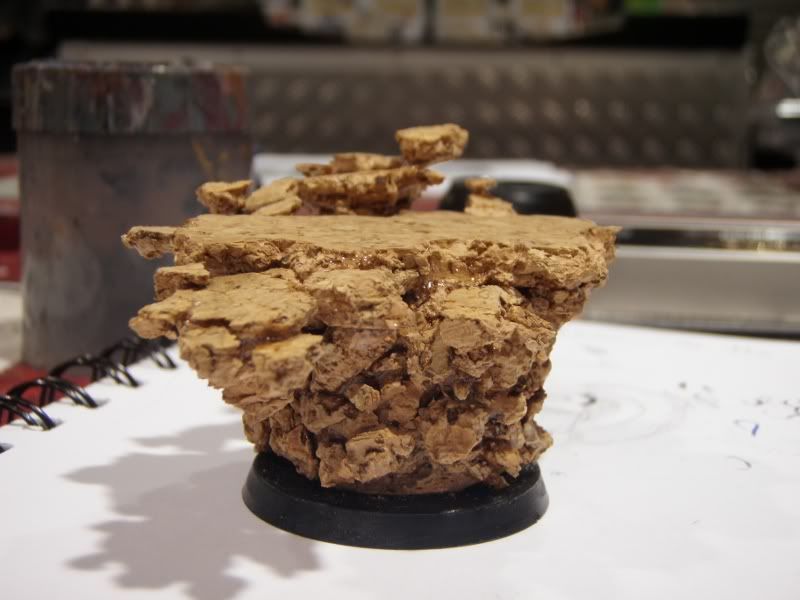
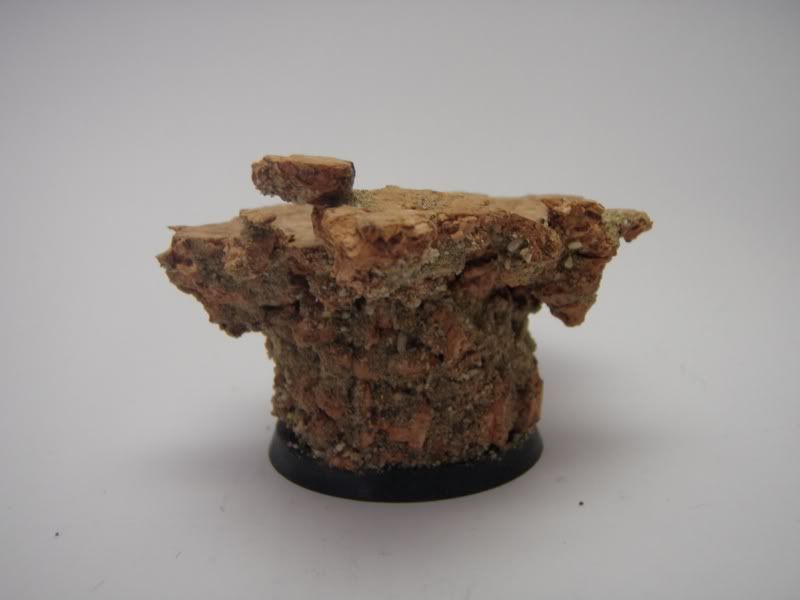
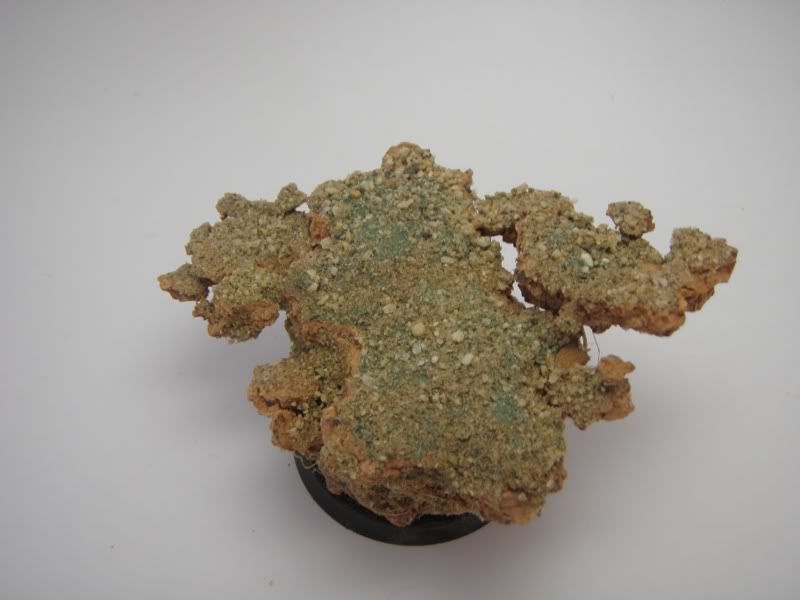
*clears throat* i have been asked by many of you from the Auckland City Guard how i made this base:
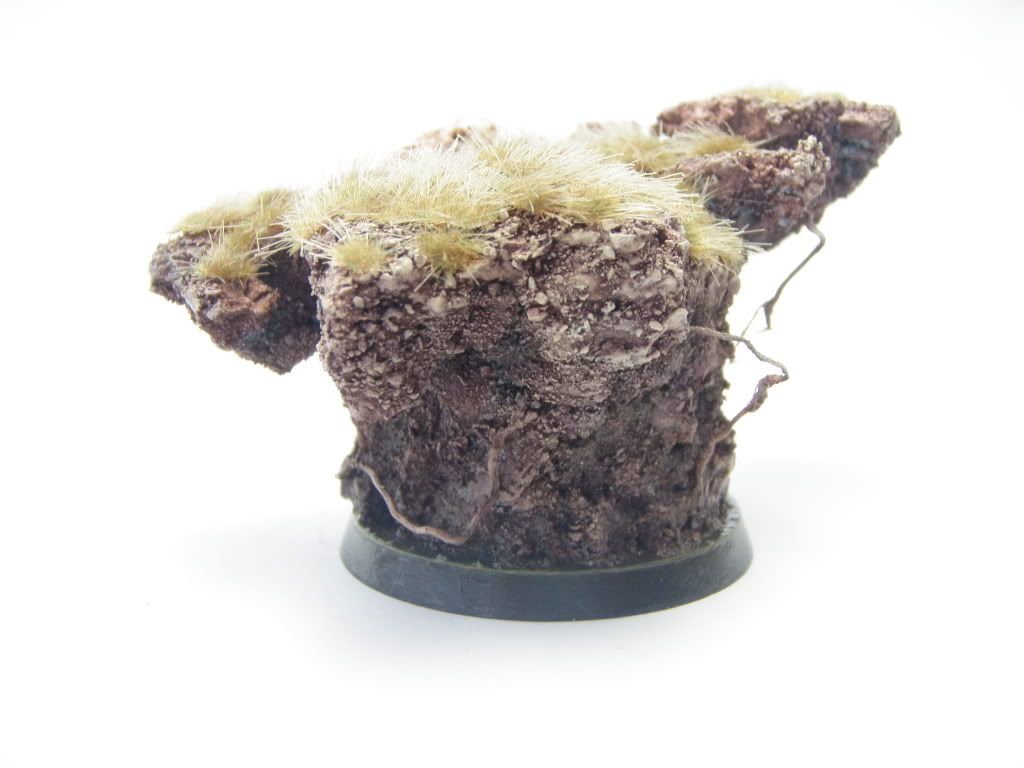 |
| the "it's a base!!!!!!!!!" base *pun intended* |
(not the best picture i know)
anyways, after great deal of procrastination (largely because i had no idea what to write *is not good at teaching people*) i have finally managed to compose a kinda okay tutorial thing for you, so you know how i did this. i must also say i used tecniques based on what i learned from a tutorial supplied by Miniature Mentor, so if you want full/better video tutorials on this, i'd say get the subscription. it's well worth it.
this provides a stable building block to work on and around. you can wait for the superglue to dry the long way, but i prefer to use the super glue activator (buy it now!) at this stage. it also stays on the cork/block thing for a little while which helps our greatly in later steps:

because of length, i'll be splitting this tutorial into two main parts. i may also post up alternate ideas that you can also try out too.
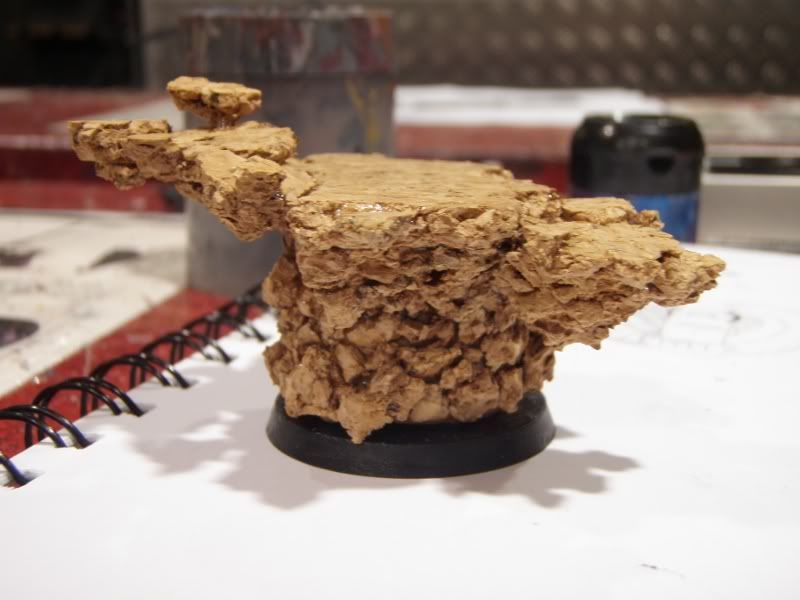
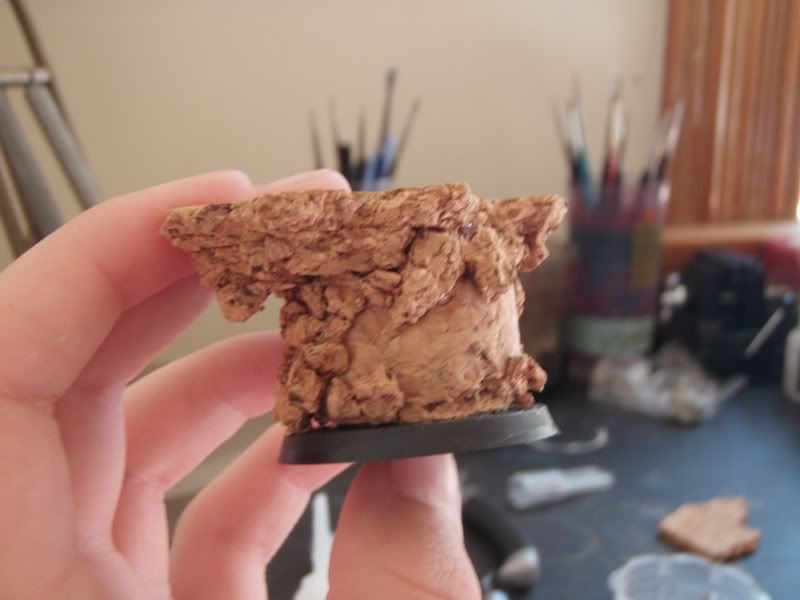
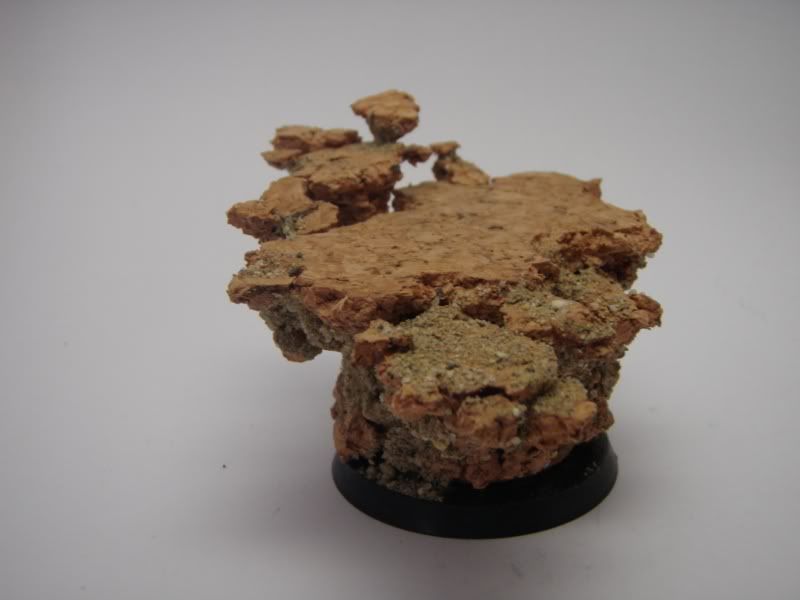
by the end of this tutorial, you will have learnt how to construct base simmilar to this one, and the product will look something like this:
|
| again not the best picture, but that's what happens when the camera gets cranky |
a quick note before we get started: you will notice i say rinse and repeat a lot. I DON'T MEAN YOU RINCE THE BASE!!!!! it's just a quirk that i subconciousily say. it just means you repeat the last few steps. in fact if you rinse the base, you'll probably ruin it.
so with that out of the way, let's get started then, shall we?
THE SHOPPING LIST: (what you need)
-a base (it will be easier on a 40+ mm base)
-a... block thing smaller than your base(i used half a wine cork, but if you are using a square base use a small block of wood)
-cork tiles (these can be purchased at bunnings warehouse for about $25 for nine (you use about 1/8 of a single tile for a base)
-fine sand (i prefer beach/farm sand. you want the different sized grains for a more realistic effect)
-super glue (thick is better. less chance of sticking yourself to various things *knows from experience*)
-PVA glue (make sure it's NOT waterproof)
-grass/small weed roots (can be pulled from your back yard while the missus is not looking) these need to be throughly washed *remove ALL the dirt* and dried (stick them in between two paper towels and blast a hairdryer at them for a while)
-super glue activator (can be found HERE)
-green stuff + sculpting tool
-water
METHOD:
we start with a base;
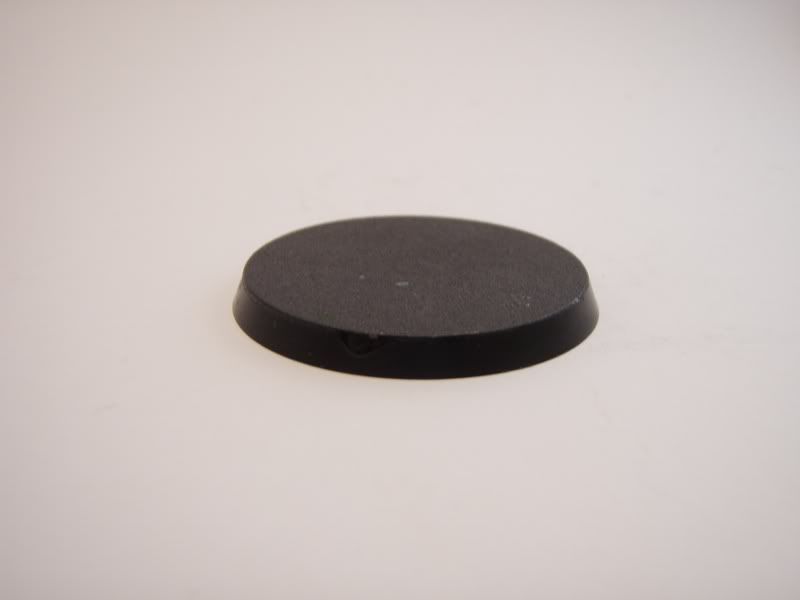 |
| *le base* |
then we put some superglue on the base:
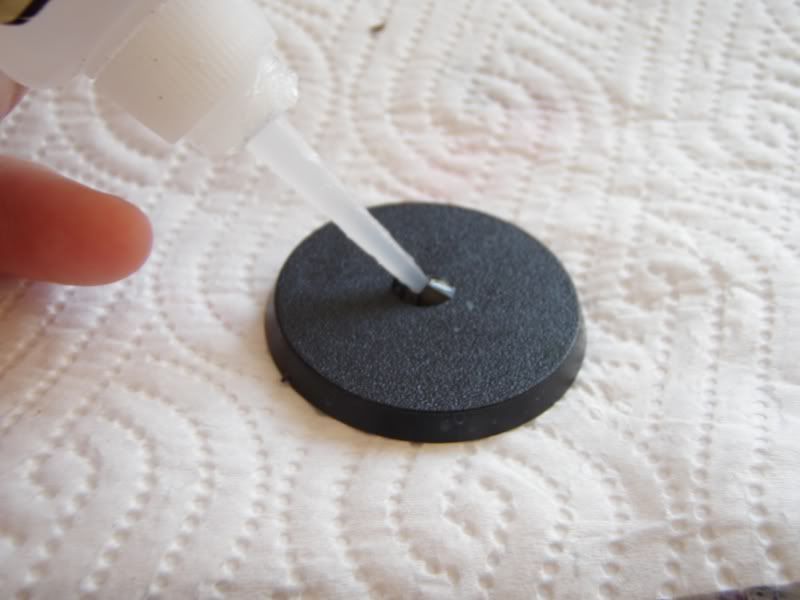 |
| nice pinky finger there ^^; |
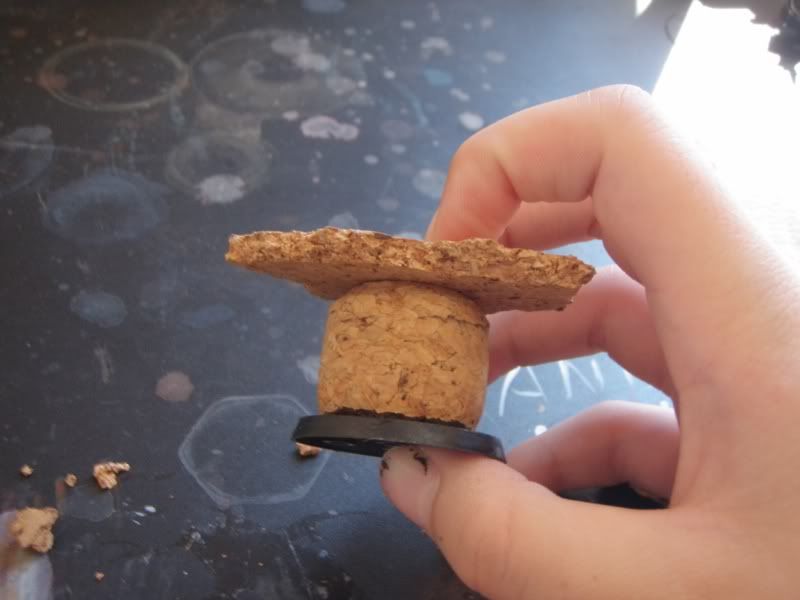
and then we attack our block thing to the base:
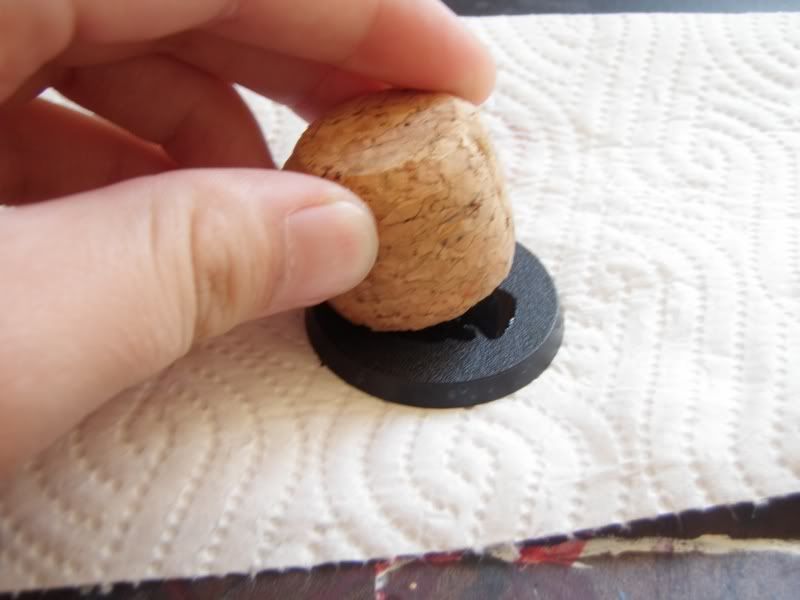 |
| *le putting block thing on base* (why am i talking in meme style?) |
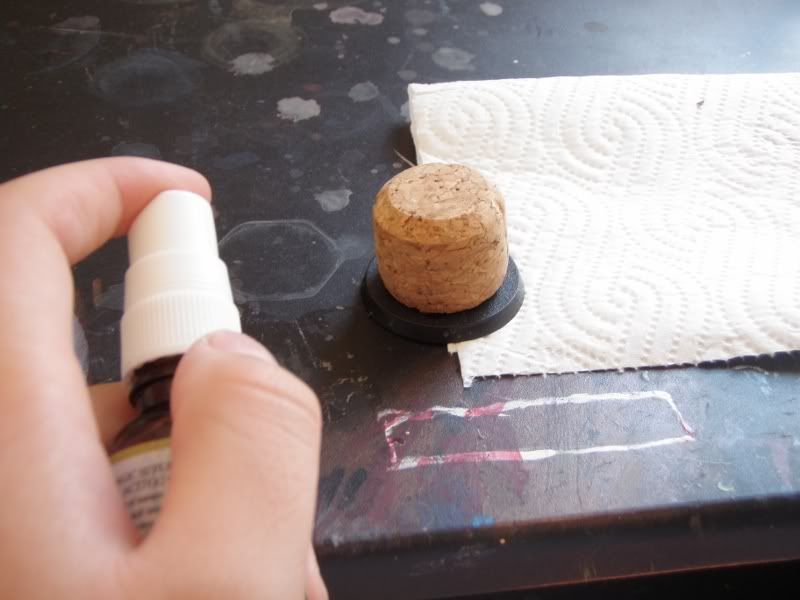 |
| *le spraying the base with activator* |
a note on the super glue activator: it's an amazing substance that causes the superglue to bond and dry in 6-8 seconds. you can spray it on the block, and then attach, but i prefer to put the two pieces together and then spray. it allows me to have time to position them in the way that looks best. another thing is that the substance stays on the surface for a few minutes, and while it doesn't dry quite as fast as the original spray, it does cause the superglue to dry in about a minute or so, so it is good to have on the sides of the block thing. a word to the wise. to prevent sticking yourself to the base/whatever else may you may be able to stick to when working with this stuff *speaks from experience. LOTS of experience (it's amazing how many times you can accidently stick your self to things)* keep your fingers well clear of the superglue, and don't spray if you even think they have glue on them. also, while it is amazing, the activator is not the most healthiest substance to work with, and while getting it on your fingers is okay (as long as don't have superglue on them), you don't want to ingest or inhale it, and DON'T spray in your eyes. i suggest working in a well ventilated area with some kind of face mask to help prevent the spray from entering your mouth/nose.
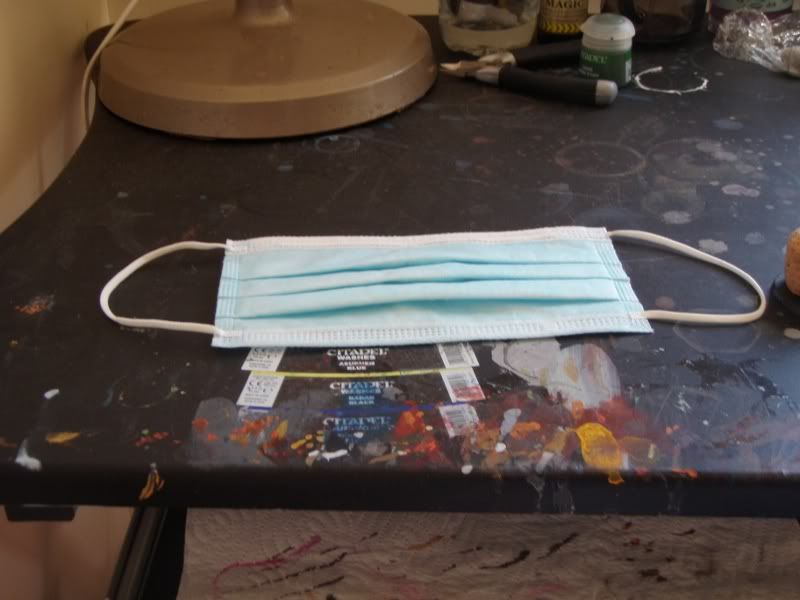 |
| *WARNING: use protection* |
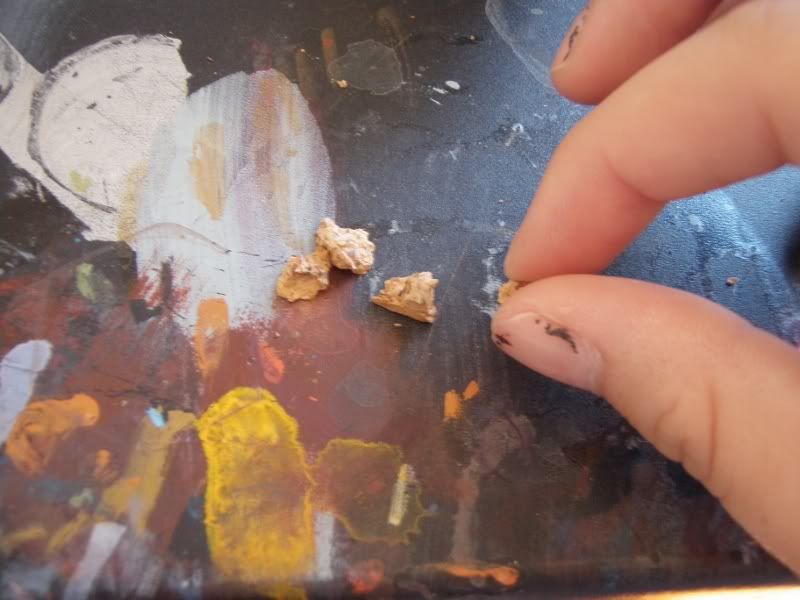
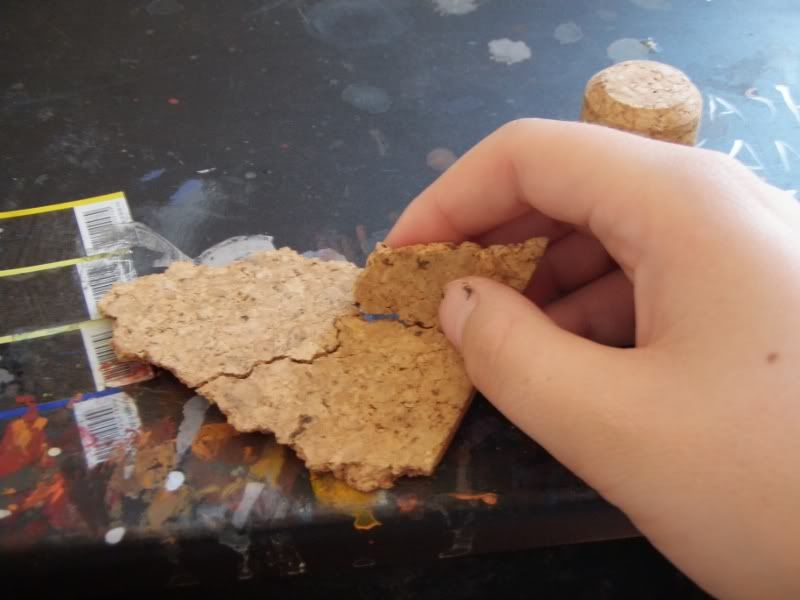
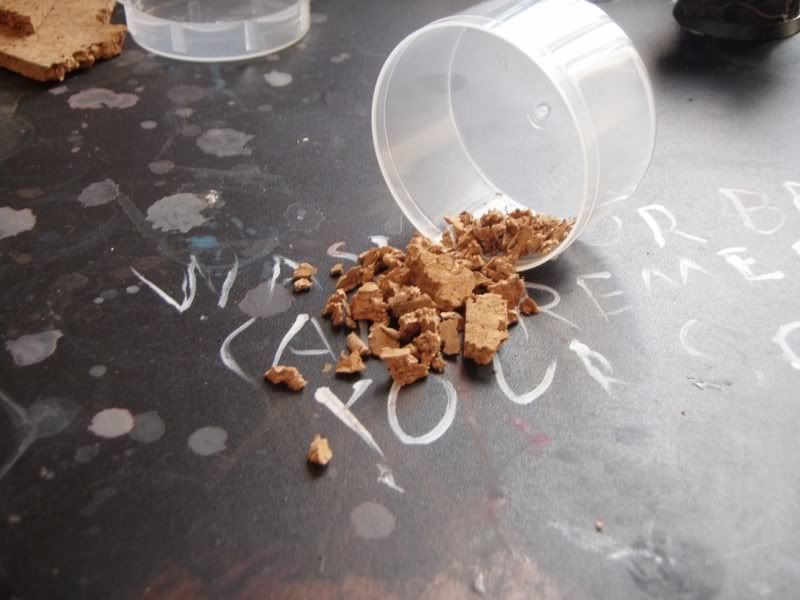
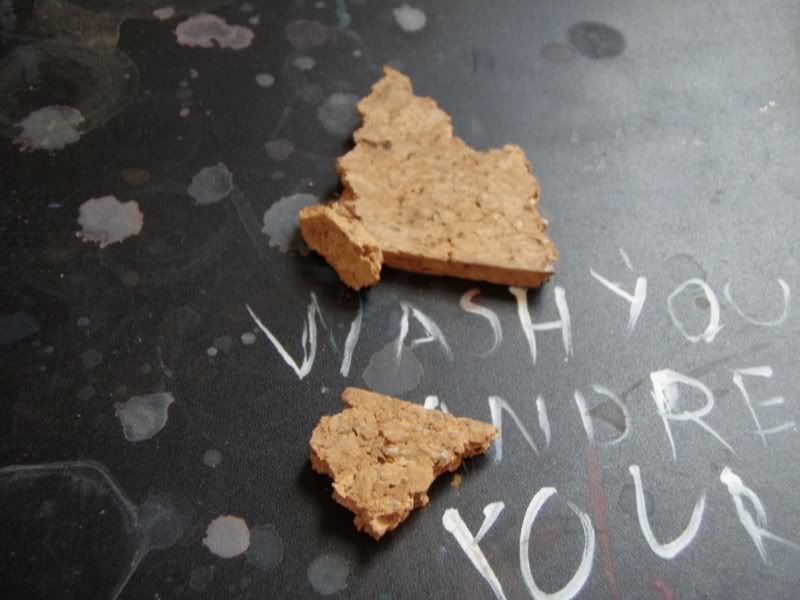
when the glue is dry, take a cork tile, and rip (yes i did say rip) a piece off it. the piece should be bigger than your block thing, and most of it should be bigger than the base (it's okay if not all of it is though). if the piece is not right, rip it into smaller chunks, put them in a container of some sort, and try again (i am sane*ish* you will see method to my madness soon).
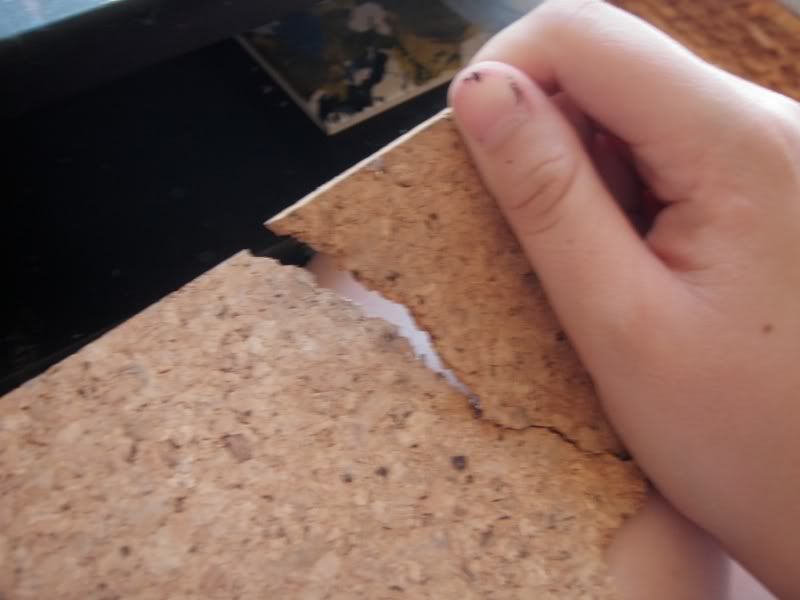 |
| *le ripping into cork* |
you may notice that some of of the edges on the ripped piece are nice and straight (they were the edges of the tile. THIS IS NOT GOOD! FIX IMMEDIATELY! (rip them until you get a nice shape and put all the pieces you ripped off into a container.)
 |
| *le ripping into cork some more* |
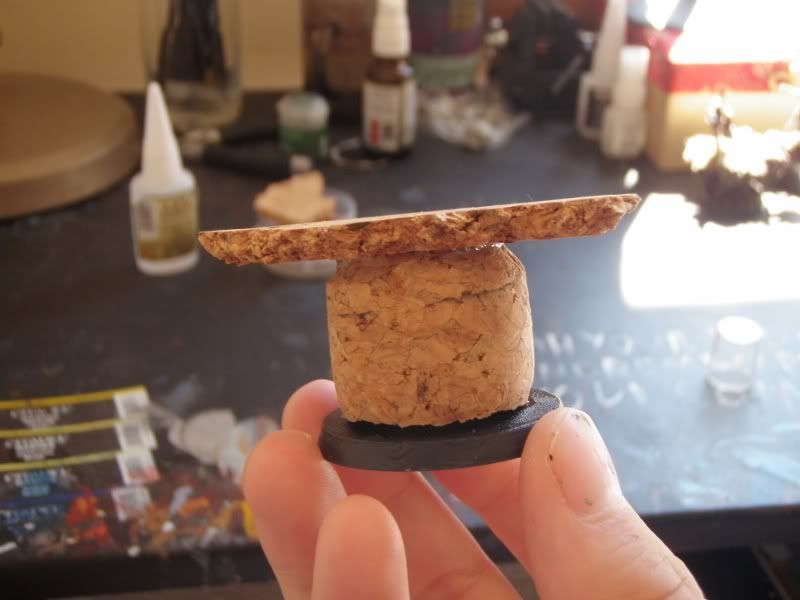
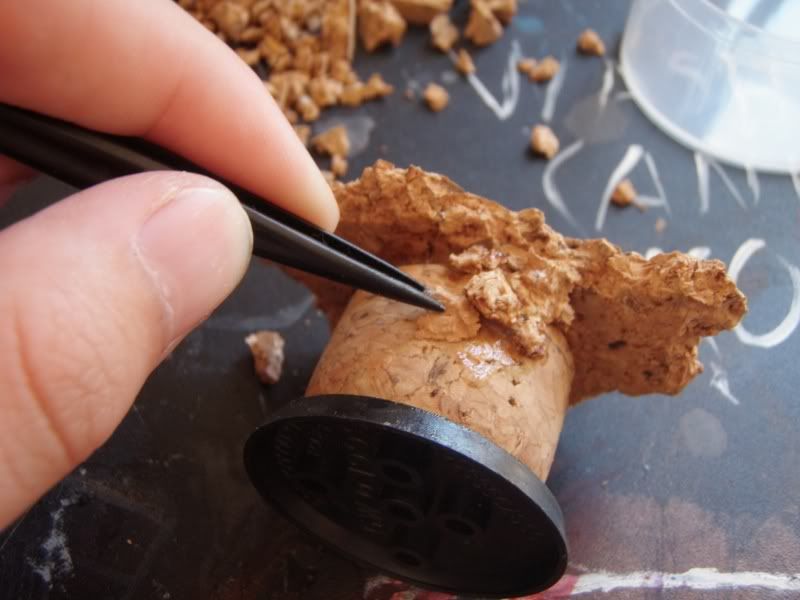
when you are happy with the ripped piece of cork, glue to the top of your block thing ( i use the activator again for this)
 |
| *someone's going to stick their ring finger to the base o0o* |
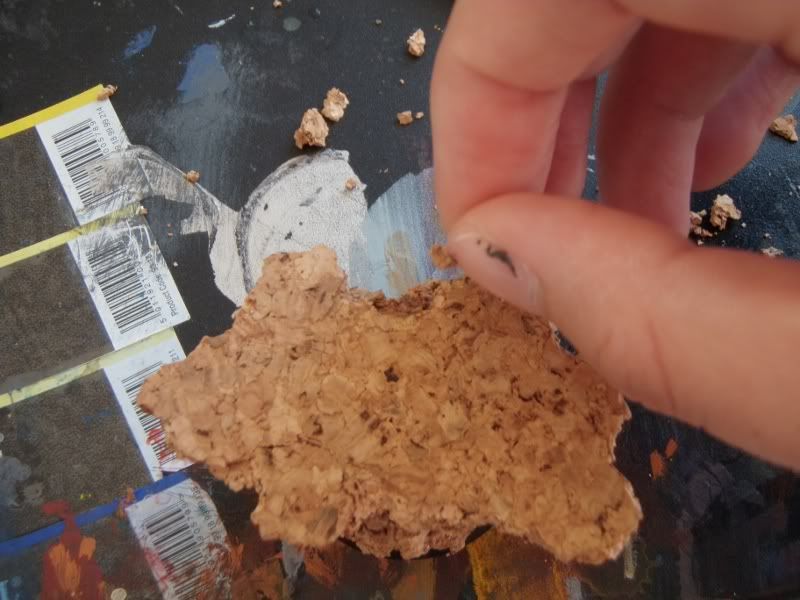
a note on ripping up the little pieces: you want to make sure that at least one of the larger flat sides has been ripped off. this will create a more realistic effect. also keep EVERY bit, even the tiny crumbs. these are VERY useful in the next bit.
another note: go out, either on the internet, or out in the real world, and look at cliffs, slips, quarrys, places where hills have been cut to make room for roads, where estuaries create mini sand cliffs, etc (take your camera so you can use them in the future). look at the tops of these, and try to re create what you see on the base by ripping little bits out of the top and bottom of the cork tile piece glued on the base. also, think about what kind of enviroment your base has come out of, and look at what dirt etc looks like from simmilar enviroments on earth (or beyond if you know where to go). for this base, i'm going for a tussock/plains feel. remember also that dirt isn't uniform, so try to make these adjustmens as random as possible. experiment with different effects, the cork is surprisingly flexible stuff to work with.
 |
| randomizing the base |
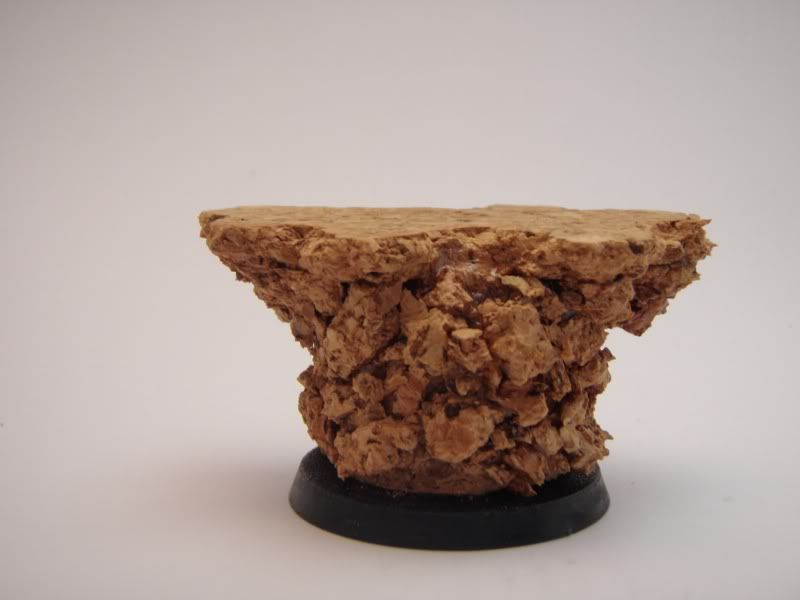
by now you should have a base that looks like this:
 |
| *le base* |
and a container full of bits like this:
 |
| hopefully not spilt like this one |
now you take the bits (best to do this with needle nosed tweezers to prevent being stuck *not like in picture*)
and (after supergluing a small area on the block thing) place them onto the block thing:
 |
| use different sized bits to look more realistic |
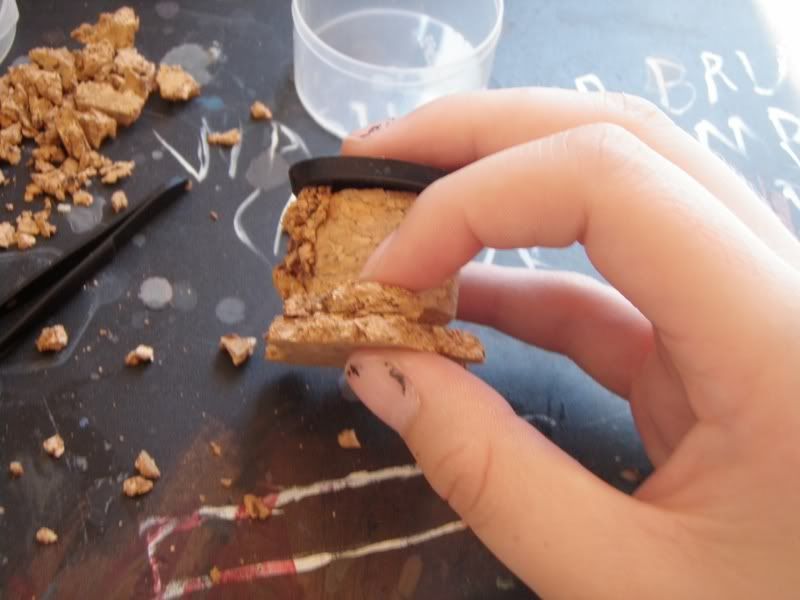
you may also glue bits on the side/under the cork tile piece to make it more realistic. however you will notice there are some areas too big to do that well with. for these areas you either take a larger piece of cork bit or rip i tiny piece off the tile(not the one glued to the base)
 |
| *le cork bits* |
after editing the shape to fit with the cork tile, glue a smaller piece(also edited) onto the bottom of the bit. repeat until happy and glue onto the bottom of the cork tile part of the base (i usually don't go past three layers, and make sure that you make the bottom without flat edges)
 |
| *le gluing first layer on base* |
 |
| *le second and third layer glued* |
rinse and repeat until all the block thing is covered up.
 |
| *le rincing and repeating* |
note: go back to your cliff etc. and look at the sides of them. try to re create what you see there. keep the big and small bits random, and try and not make too many visible patterns in the base. sometimes making a pattern can look effective if you do it right *like rock layers etc*, but i suggest doing a LOT of research before giving it a crack.
right, now you should have a base that looks like this:
 |
| *le base* |
and you are feeling a little proud of yourself. so you should! you're about half way there.
now, you can skip this part of the tutorial if you want, but i think it adds a lot more interest to the base, so here we go:
begin like you were making another layered section to be glued under the base (you know, to cover up those big bits underneath the top cork piece). this time, don't attach it to the base, just leave it free.
 |
| make sure you take off all the straight edges too! |
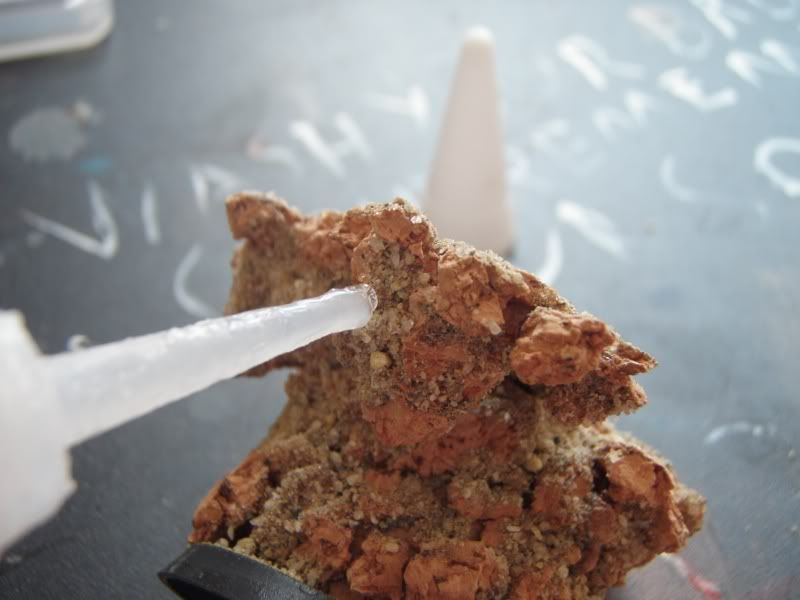
drill a hole in the side of the base:
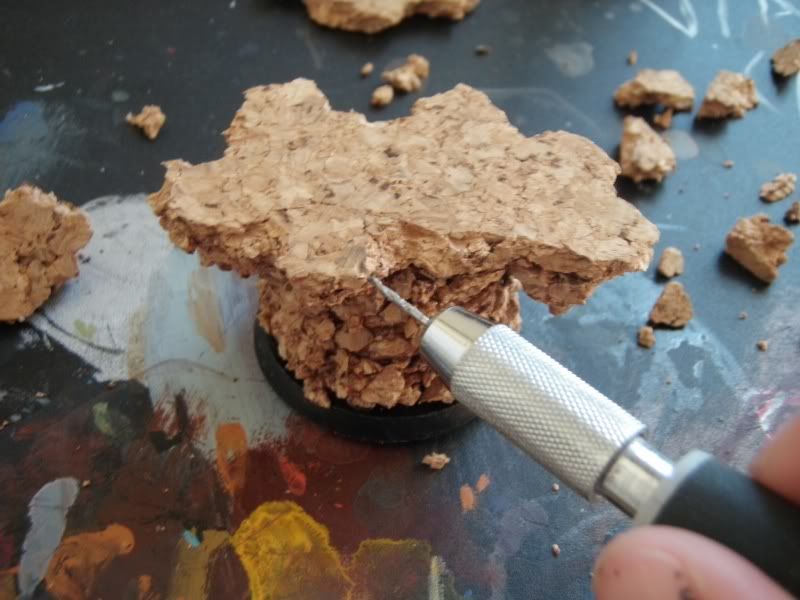 |
| remember where it is. they are surprisingly hard to find afterwards |
and cut a piece of wire off a paper clip:
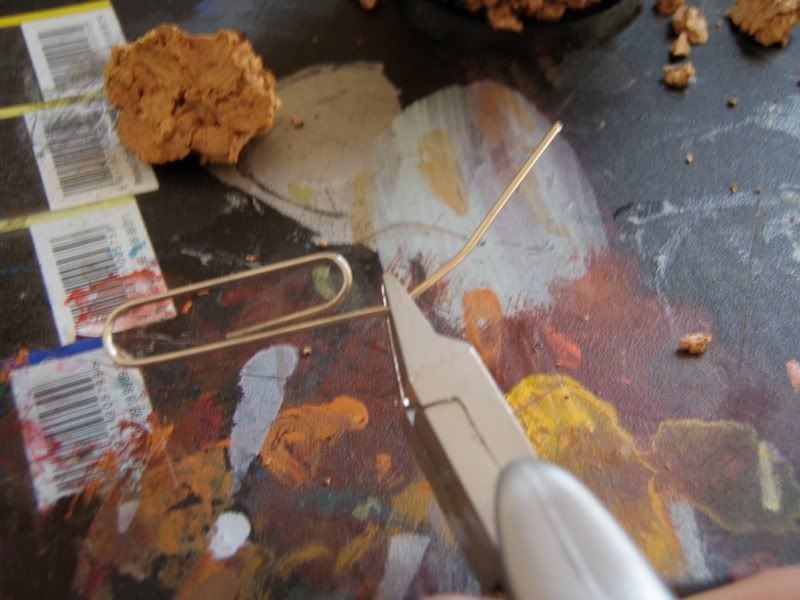 |
| *le cutting paper clip* |
and you know what comes next... pinning time! for who don't know, put a blob of superglue on the wire piece and push into hole.
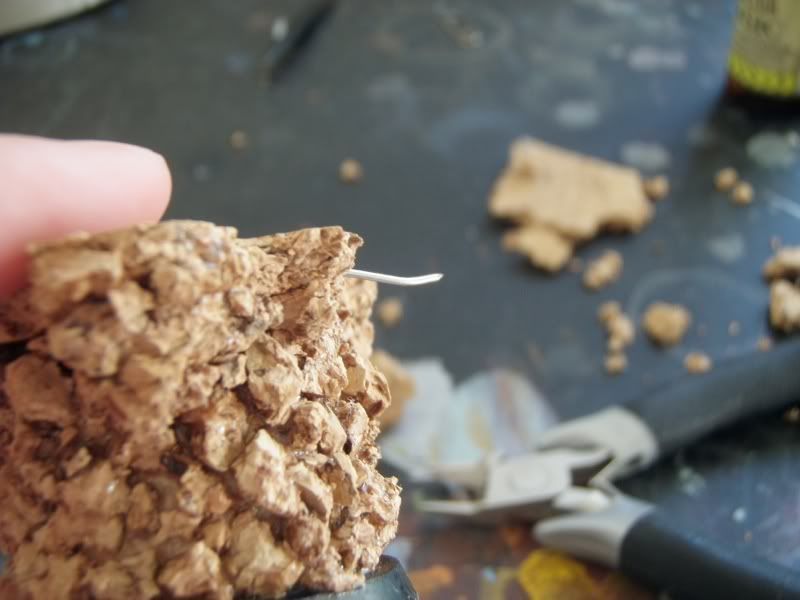 |
| *le pin* |
find a place on the little cork stalactite you made, find a place to drill so that when the two piecec are pushed together, they look like they have broken apart (aka simmilar edges).
note: to make it even more dynamic, you can make the piece above or below the level of the rest of the base.
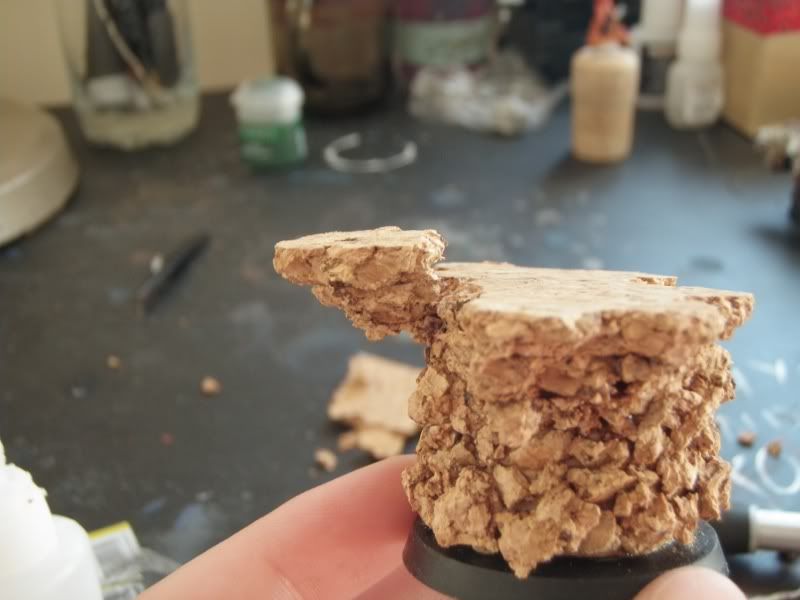 |
| *le pinned bit* |
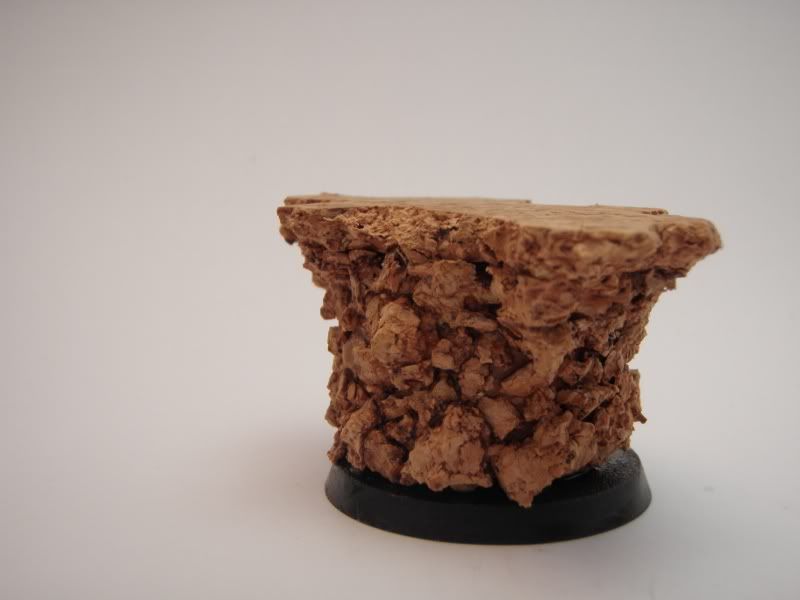
rince and repeat until you get something like this.
 |
| *le base at st Lukes games workshop* |
note: for even more effect i've used lots of different sized pieces and set them at different levels. i've even made some of the pieces slope to add to this effect. for the smaller bits, i haven't bothered to pin them, i just put superglue on and sprayed the activator on them (look out for you fingers though!!!)
if you look closely,you can see joins between layers, superglue splashes etc. this is okay, as at the moment, the base just looks like a bunch of rocks jumbled together, and not the clump of earth that we want it to look like we'lltake care of that in the next step.
mix some of your PVA glue and water together until you get a nice, paint-like consistency (i vary this depending on what kind of earth i'm working on *for rocky earth, use thinner PVA so all the cork outcrops are visable*)
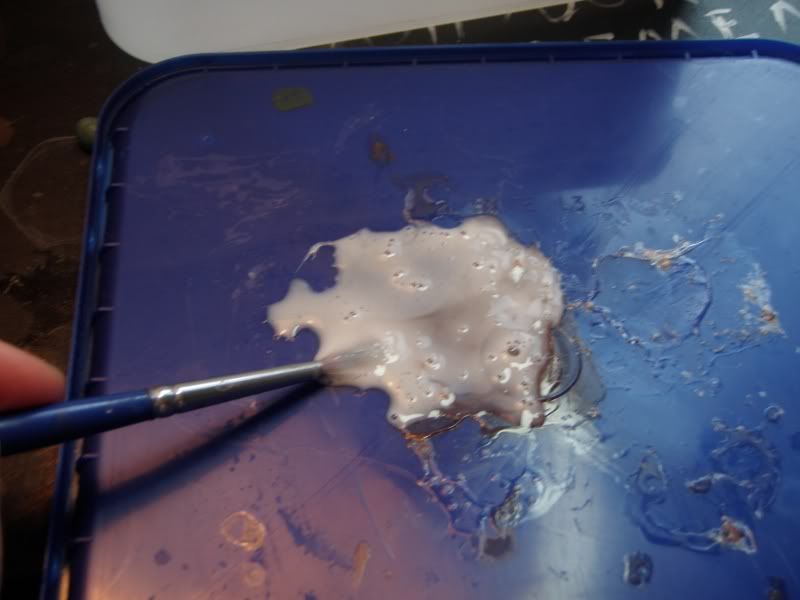 |
| *le mixing PVA glue* |
once you get it to the desired consistency, paint it on random areas of the base. try to cover up anything that would make the base look fake 9like the layer join lines etc.) but don't cover everything up! you still want the cork in some places to show through or it will just look uniform and artificial.
 |
| *le painting PVA at st Lukes* |
after that, put the base in a container and pour the sand over it. turn it on different angles, turn it upside down, and sprinklle sand on it to get maximum coverege. it you missed a spot, take some of the sand in the container and sprinkle it until it's covered. rinse and repeat until desiered effect is achieved.
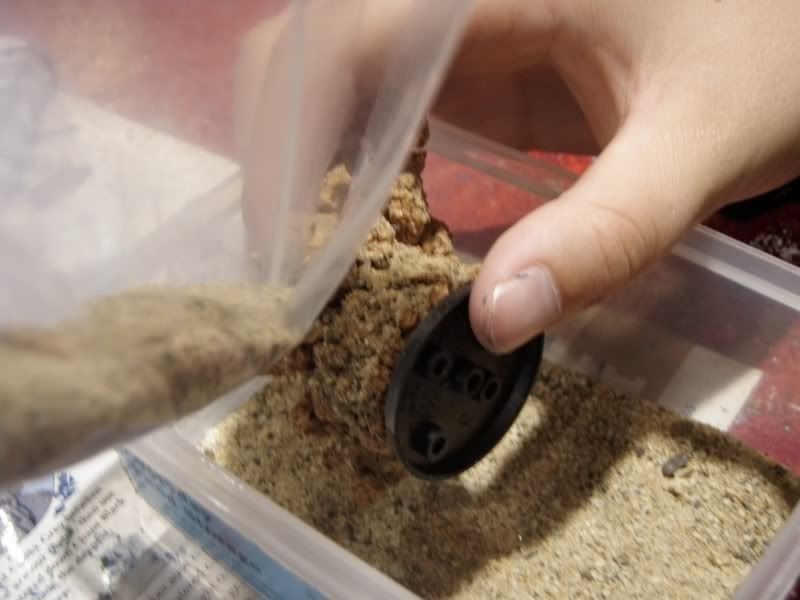 |
| *le sanding base at st Lukes* |
eventually you'll wind up with something like this:
 |
| *le base* |
(yet another) note: you should prpbably do this step before sanding the base. i kinda forgot to ^^;
look closely at the following picture. something is wrong with this base:
 |
| i wonder what it is? |
any idea? no? well look at the main area of the base (ignore the floaty bits). it looks too flat. in real life, ground is NEVER that flat (i know. i've lived on a farm all my life). we are rying to get as realistic as possible, so we should do something about that right?
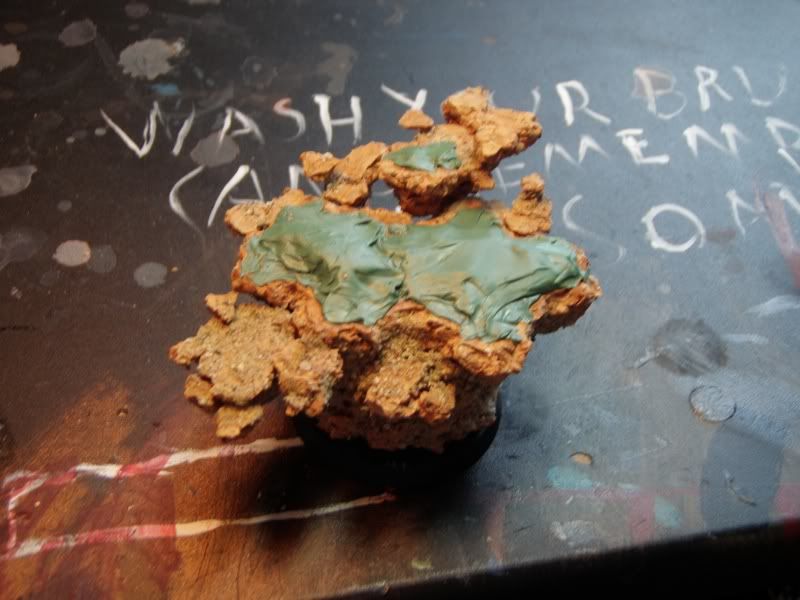
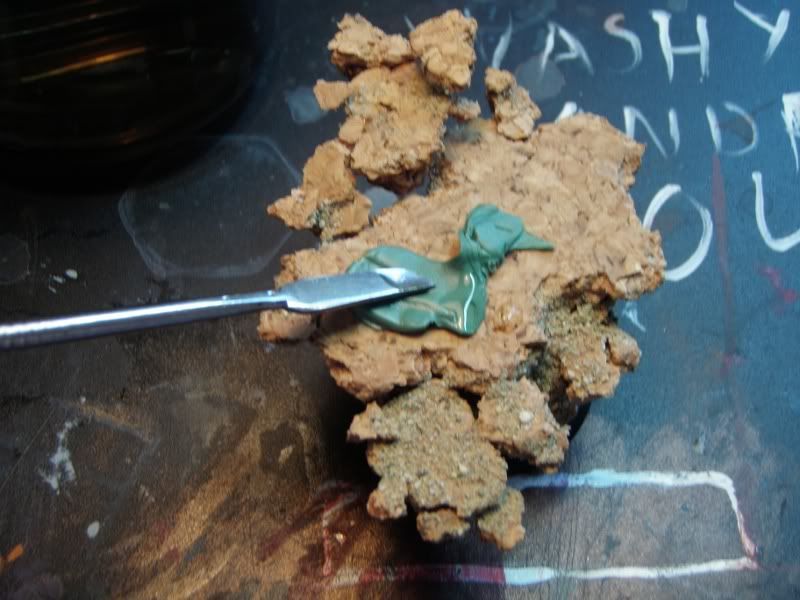
so, get some green stuff
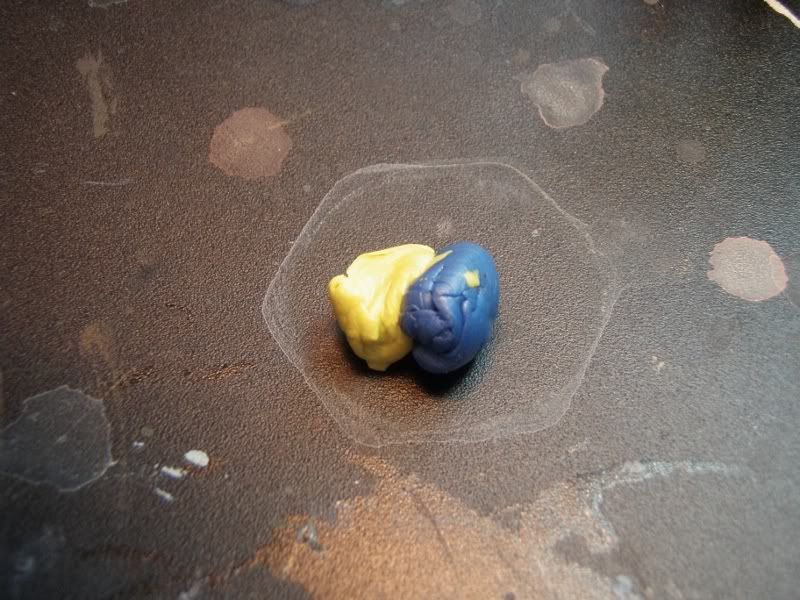 |
| *le green stuff, waiting to be mixed* |
mix it up and put it on the top of the base:
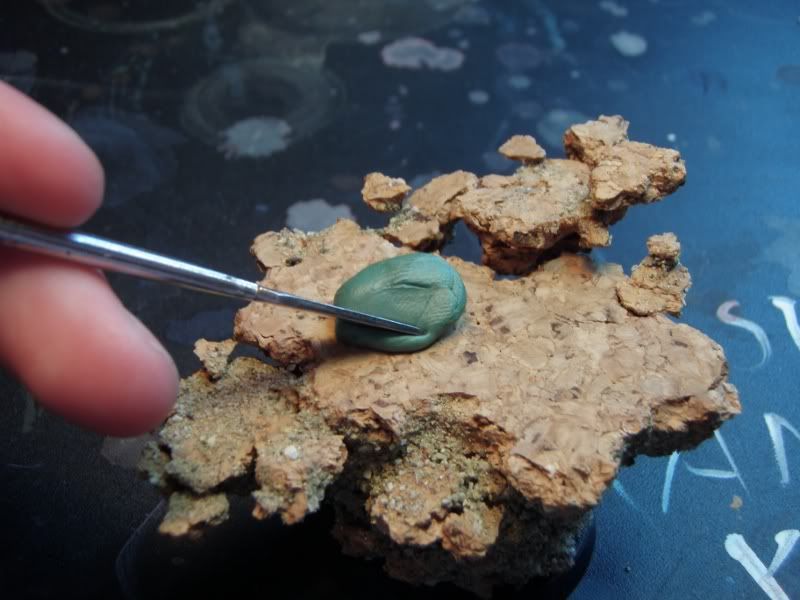 |
| use the sculpting tool |
begin to sculpt some random hill like things on the base, using water to smooth/make the green stuff easier to work with.
 |
| *le beginning sculpt* |
it doesn't have to be a perfect job, in fact, far from it. as long as you have an uneven, earth like shape, it won't matter.
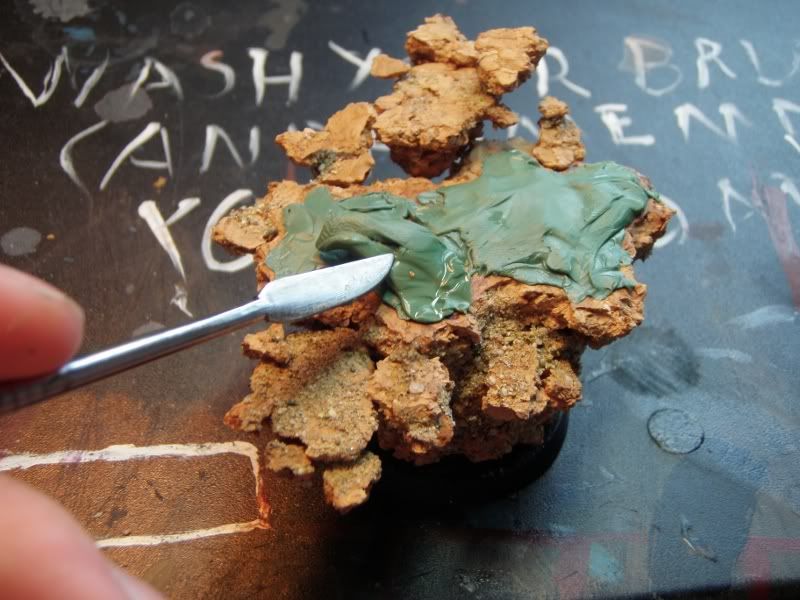 |
| *le sculpting* |
when you're finished, it should look like this:
put the PVA/water mix on the top and sand it (i don't even wait for the green stuff to harden)
well, guess what? we're almost finished. this next step is the last, and then wall you need to do is paint it!
we begin the final step by putting a small blob of superglue on the base:
 |
| *le blobbing* |
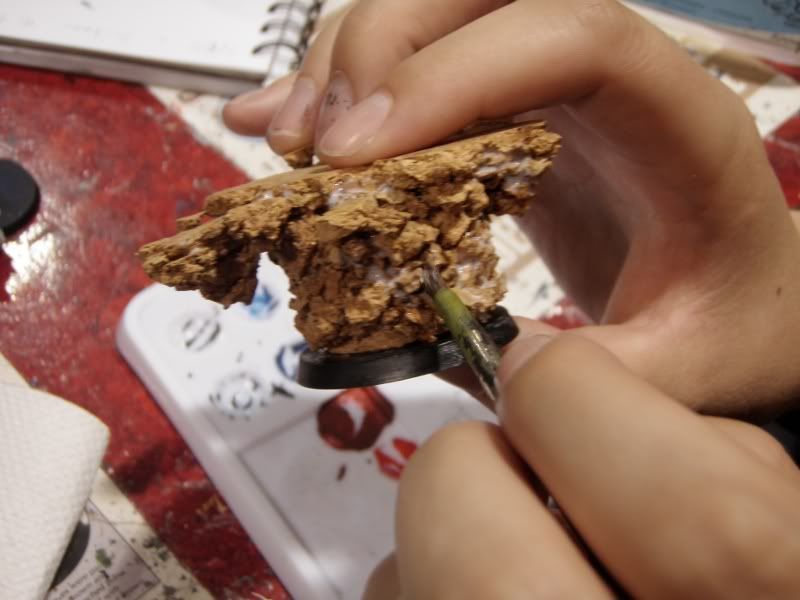
next take one of yur dried roots and put it in the superglue. get the activator (i stress it s much because it's extremely difficult to make this base otherwise) and spray it on the glue:
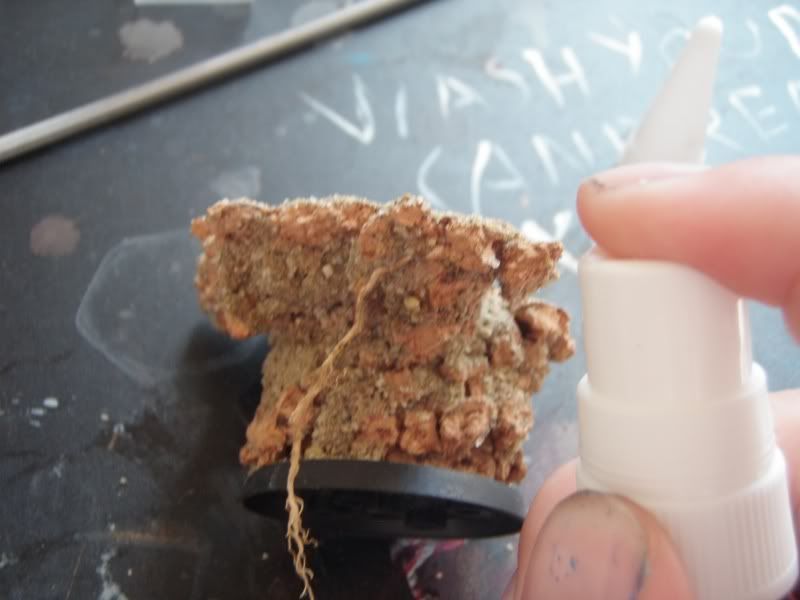 |
| *le spraying* |
glue the other end of the root to the base as well. think about how roots grow when doing this, and attach them in areas that they would more likely grow out of (like cracks in the base etc.) rinse and repeat untill...
YOU'RE ALL DONE!
 |
| FINISHED! |
...there. see how easy it is? i hope that helps a bit (like i said earlier, i'm not good at teaching things)
i am currently making more of these bases for some friend's DnD minis, so alternate images will be up sometime soon. also i will do pt2, painting the base, once i solve the no primer issue.
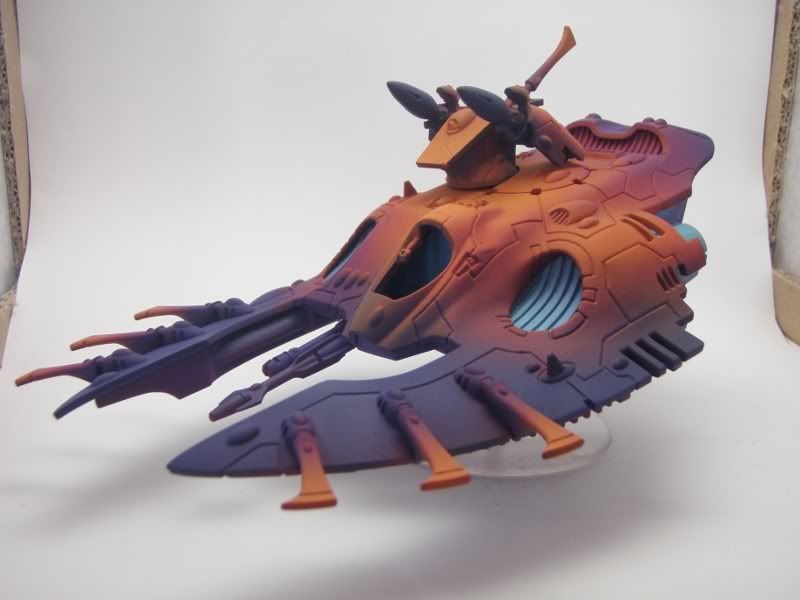
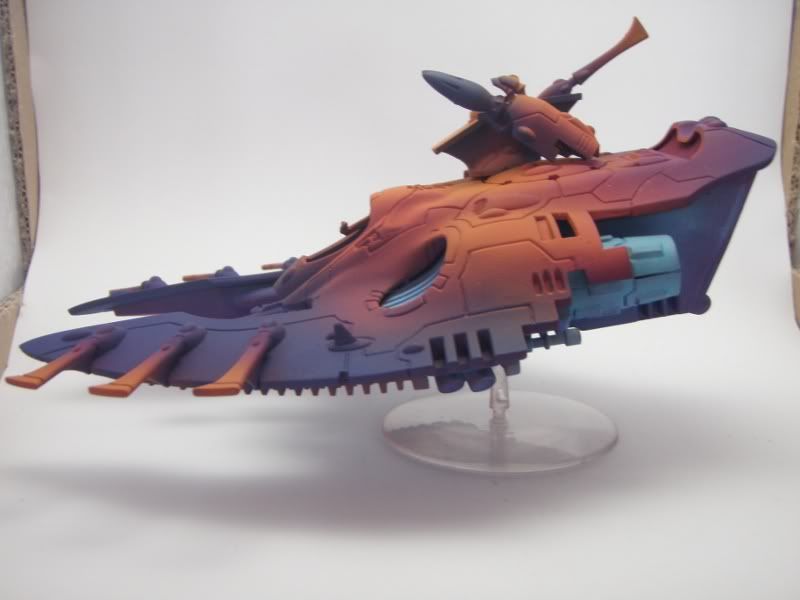
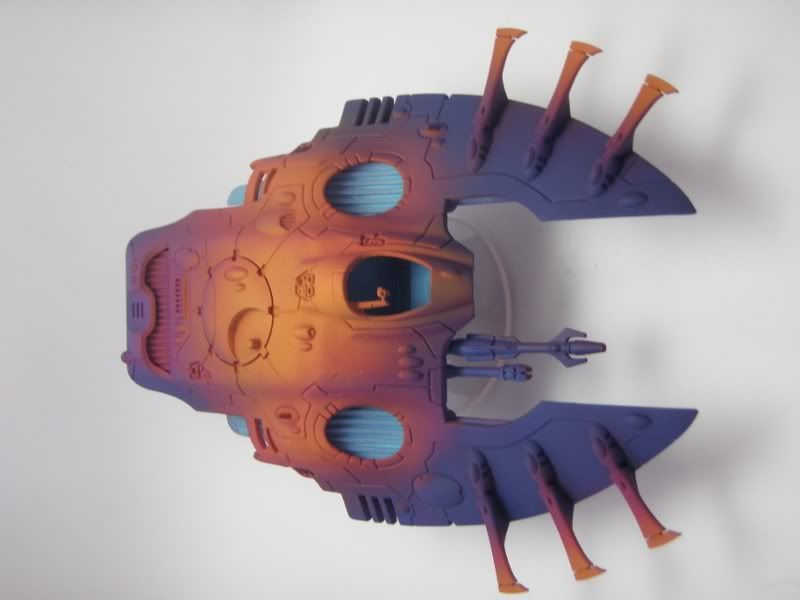
on (a final) completely random note: here are some of my wave serpent WIP pics. enjoy as much as you can (as i am a bad painter and all)
and that's all. i'll let you get on with your life/surfing the net, and i'll get back to glaring and making faces at my cat, who hase stolen my painting chair
until next time
-claire
Wow this is really handy have to save this in a pdf or something. Well done you are not rusty at model making.
ReplyDeletethe bases i learnt how to make recently, and maybe i will, it depends, i may do some other stuff, like diffrent effects you can create etc. i'm still exploring that at the moment though
ReplyDelete